 Home
Home Health
 Diet & Nutrition
 Living Well
 More
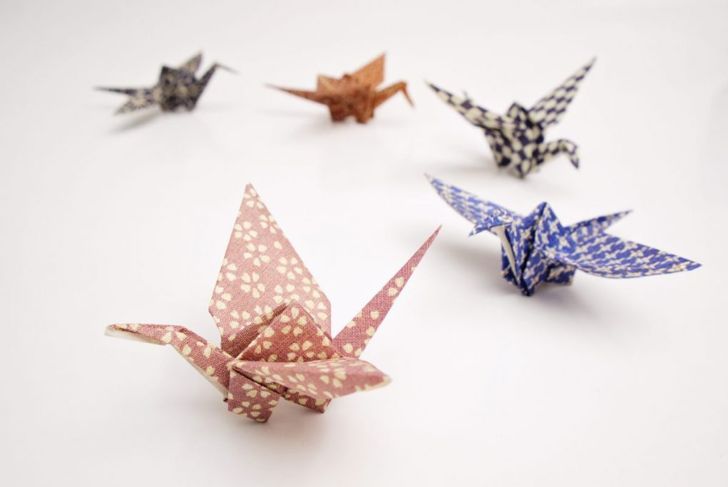
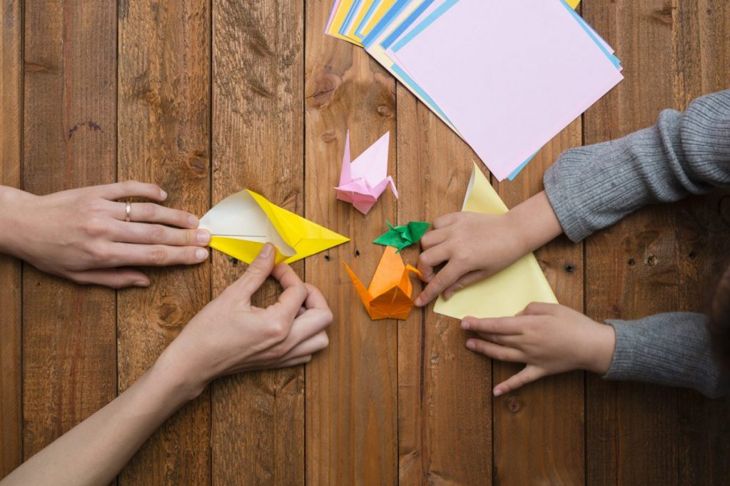
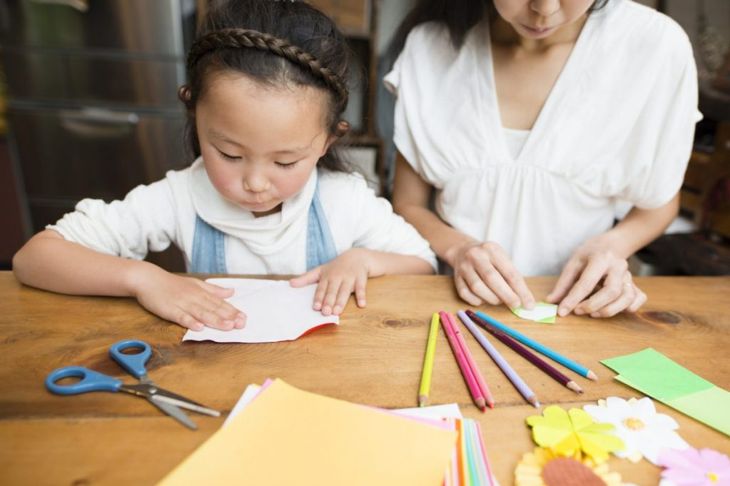
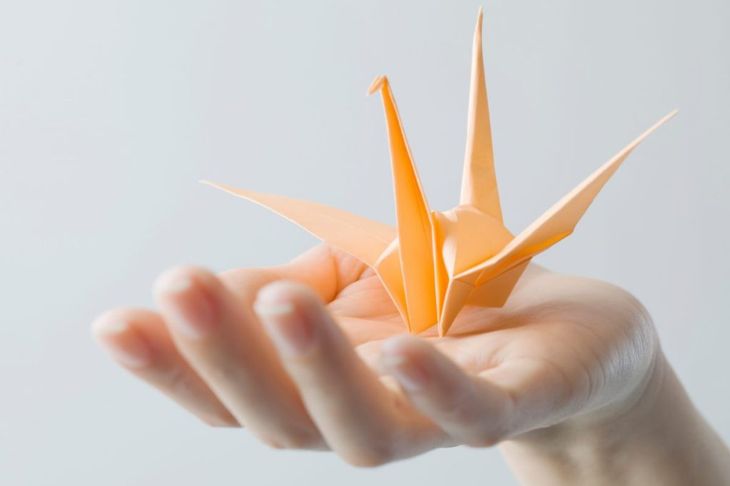
MoreFor hundreds of years, origami and the art of folding paper has been a beloved part of many cultures. However, it wasn’t until Akira Yoshizawa created the Yoshizawa-Randlett system in 1954 that origami spread across the world and interest in it exploded. The system, which is still in use today, has notations about how to fold specific origami folds. One of the most popular origami models is the origami flapping crane or flapping bird. Not only is it simpler than a standard origami crane, but its ability to move makes it something special.
Starting Point
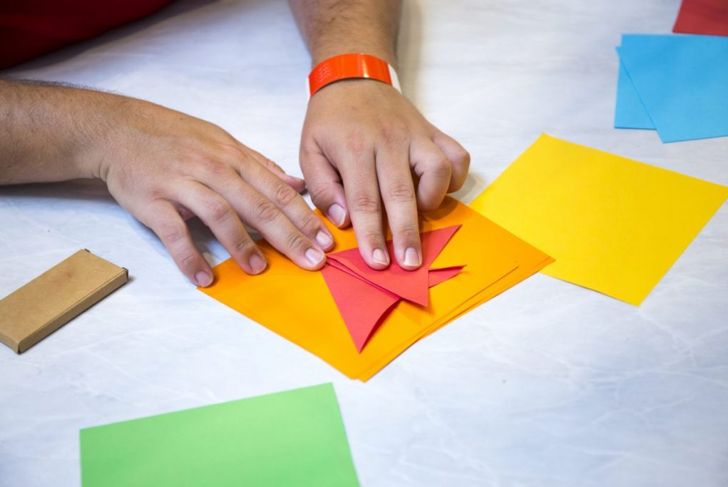
In most situations, it’s usually better to use origami paper. These are small, square sheets of paper that are thinner than sheets of regular printer paper. Usually, they have a bold color on one side and are paler or white on the other. This helps make following folding instructions significantly easier. For the origami flapping crane, a sheet that measures 15-by-15 centimeters usually has the best flapping. If you don’t have origami paper or square paper, you can cut the bottom off of a sheet of whatever type of paper you have available.
Types of Paper
Though it’s ideal to use origami paper, not everybody is going to have regular access to that. However, most people have some type of paper in their home, whether it’s copy paper, notebook paper, or even newspaper.
- In most cases, copy or printer paper is too thick, though it is possible to perform basic folds such as those necessary for the origami flapping crane.
- Though it may be tempting to use newspaper because it is thin, it’s not a great material for origami. It tears easily and doesn’t take folds well.
- Notebook paper is thin and folds easily, though some people may find the blue guidelines distracting.
- Manifold paper is fairly rare now, though some people might have some stuck in cabinets from years prior. Manifold paper, or second sheet paper, was in use before printers and copiers were widely available. Manifold paper is thin, strong, and takes folds easily.

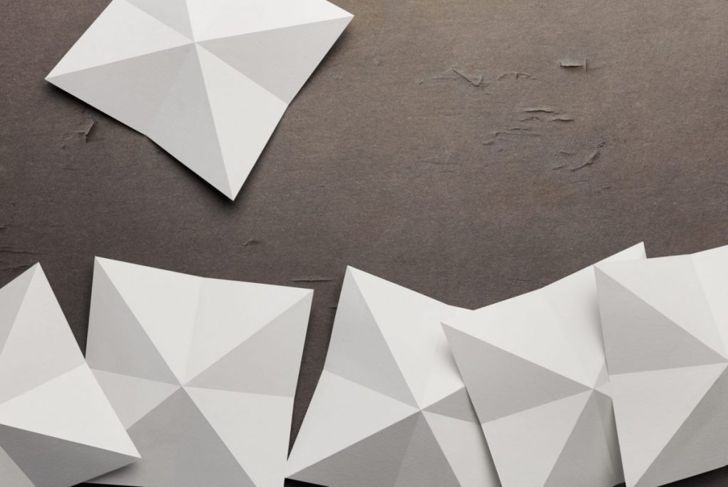
Square Base
When beginning the origami flapping crane, the first step is to create the square base. This is one of the basic folds of origami and mastering it opens up the ability to fold other pieces such as a frog, star box, or star. First, begin with a square piece of paper. If you’re using origami paper, place the colored side up and fold its diagonals as valley folds. This means folding it so that the colored sides touch. Then fold along its North-South and East-West lines as mountain folds. The mountain fold, in this case, would mean the plain side touches. After this, it is easy to collapse the paper into a basic square.
Second Square Base Method
Though the previous method is the official and traditional way, there is a second method to create a square base. First, place the paper with the colored side down. Fold it along the diagonal, so the plain side meets and creates a colored triangle. Then fold this triangle in half across its middle section to make a smaller triangle. Slightly unfold the previous triangle and open this half of the fold, pressing it down. This makes a square shape on this side, with a triangle emerging from the back. Repeat this on the other side.

Bird Base Part 1
Once the square base is complete, it’s time to move onto the origami bird base. This is a more advanced origami fold that acts as the base for many of the bird pieces. First, fold the corners of the squares inward toward the center of the square. This should create a triangle or paper airplane-like shape. Then fold the remaining tip of the square down to meet the previous folds. Once you have set the creases, release these folds.
Bird Base Part 2
The next step is to create a petal fold. If the paper has strong creases, these steps should be fairly easy. Unfold the square on one side and press it down in the middle. This should create a diamond on this side while keeping a square on the other. Repeat all of these steps for the other side to make a single diamond shape. This is the complete bird base.
Crane Folds
The next folds are the final folds for the origami flapping crane. To begin, you must create creases for the tail and head of the bird. One half of the diamond should have sections that do not meet in the middle, allowing both sections to fold independently. Fold one of these “legs” under the halfway mark of the diamond. The fold should be diagonal and leave a triangle shape just under the diamond’s halfway mark. Do this for the other leg as well. Once you complete the folds, it should have a W shape. Unfold the shape and prepare to perform a reverse fold.
The Reverse Folds
Though you may see the following steps and believe they are difficult, this is actually one of the simplest stages of creating the flapping crane. First, open up one side of the diamond, but do not fully unfold the shape. You should be able to see the various creases of the piece within the open side. Take the leg and fold it up and into the open side, folding it in the middle. Repeat the same folds on the other side. This should create the same W shape from before, but with the folds on the inside of the piece rather than on the outside.

Finishing the Bird
To finish the bird, perform another reverse fold on the tip of one of the legs. This should bend the tip down on a diagonal. Then fold the remaining parts of the original diamond shape down on a slight slope to create the wings. To flap the wings, hold the tail in one hand and the spot just below the front of the wings in the other. Slightly pull them to allow the bird to flap.

Other Origami Materials
Once you’ve mastered the origami flapping crane, you may wish to experiment with other types of materials to create more elaborate and beautiful flapping cranes.
- Kami is the most common origami paper and is the best for general use. It has a colored side and a white side and takes creases well.
- Tant is the most versatile origami paper. It has a stiff texture and a slightly textured surface. Tant typically has the same color on both sides.
- Kraft is a German gift wrapping paper, but it’s also great for learning origami. It contains wood-pulp that was almost entirely cellulose fibers. This gives the paper a rough texture, but some impressive strength despite how thin it is. It is inexpensive and great for beginners.
- Foil paper is reflective on one side but plain on the other. It holds creases incredibly well and allows for some flashy origami pieces.