 Home
Home Health
 Diet & Nutrition
 Living Well
 More
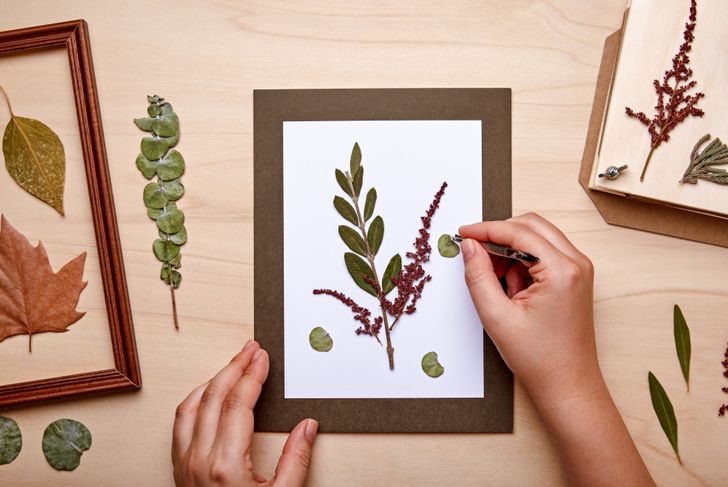
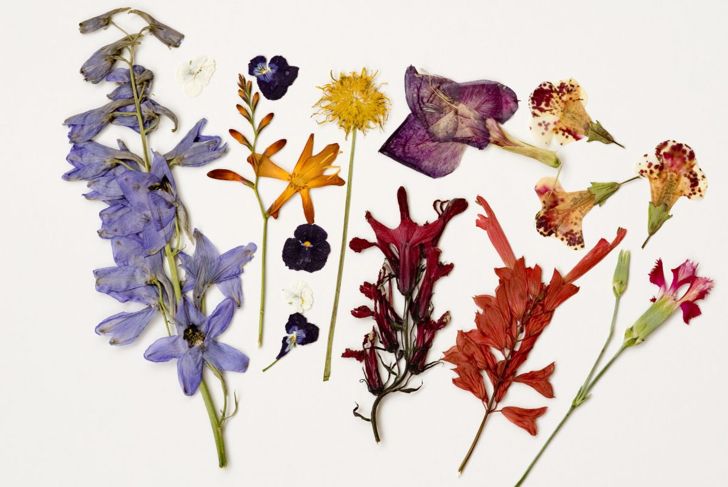
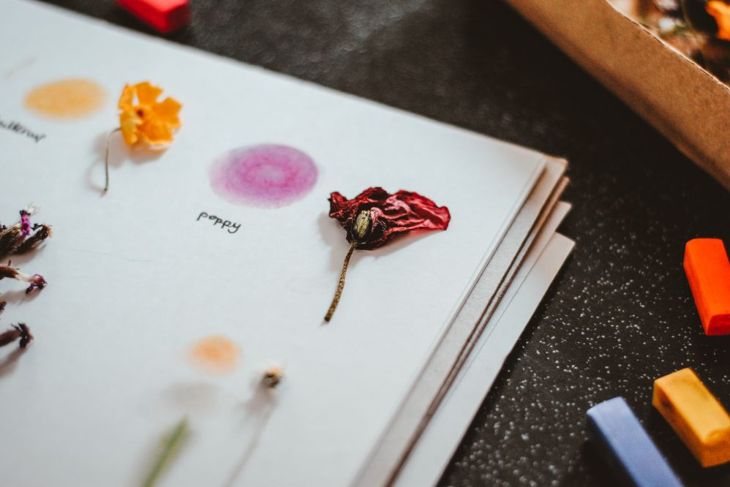
MoreMany people look to preserve artifacts that remind them of a special time or place — baby clothes, engagement photos, and home videos make memories into personal keepsakes. Some people preserve their wedding bouquets or flowers from a significant date to keep a physical reminder. If you’ve ever wanted to press flowers for years to come, there are numerous ways to keep these blooms vibrant for scrapbooks or wall hangings.
Preparing Your Flowers
If the flowers you’re pressing are currently planted, prevent mold by picking them in the morning, after the dew has dried. Don’t wait until the blooms are far into their lifecycle; by then they will be more faded, and their color won’t last as well. Flowers with a round blossom will press best if cut in half. If you can’t press your flowers immediately after picking them, place them in a bag in the refrigerator to preserve their color. If you need to refrigerate the flowers, soak the stems in water and cut them diagonally before letting them sit in a vase with water and sugar for a couple of hours. This will help rehydrate them and give them enough color.

The Book Method: Step 1
First, you’ll need your materials. These include a large book, a piece of parchment or absorbent paper, your flowers, and more weight. Any book that has some heft to it is an adequate choice, so think in the direction of coffee table books and encyclopedias. Additional books, weight sets, and household items can serve as additional weight.
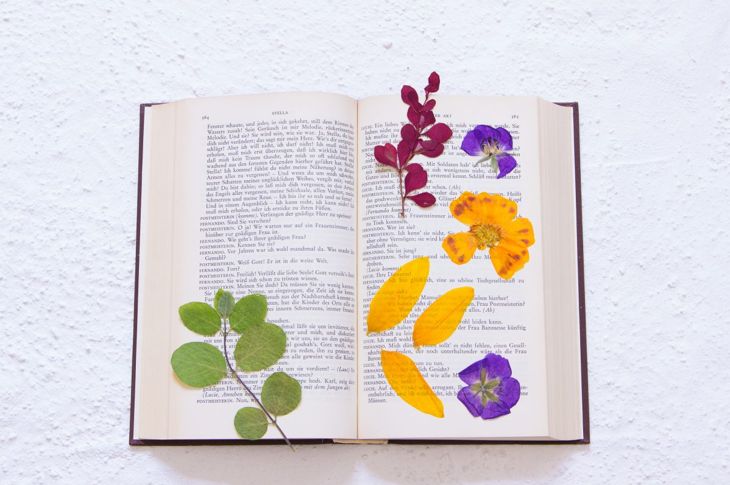
The Book Method: Step 2
Place your prepared flowers onto the absorbent paper and fold it over, so the flower is sandwiched between two pieces. You can press multiple flowers at once, but be sure to space them out, so they don’t bleed onto each other. Put the flowers in their paper cover into the middle of the heavy book, then close it gently and place the weights on the top.

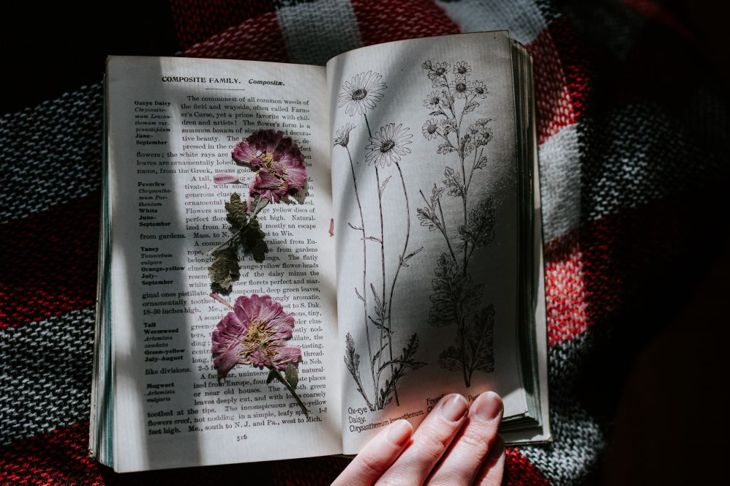
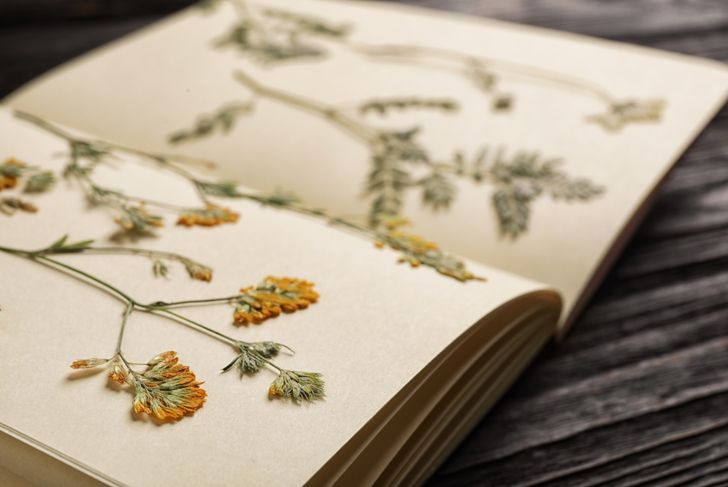
The Book Method: Step 3
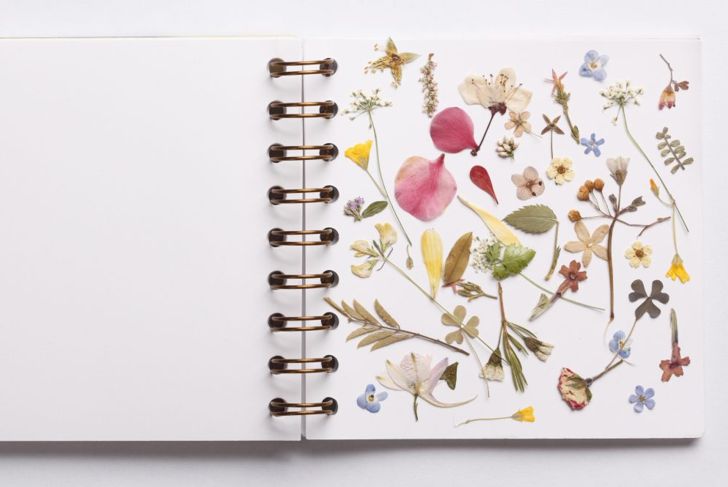
Keep your flowers pressed for three to four weeks. They should be kept in a warm area without a risk of mold. Wait at least two weeks, then check the progress. This would also be a good time to change the parchment paper and consider moving your flowers to a drier area. After a few weeks, you should be able to use your preserved blooms for artistic projects and wall hangings.
The Iron Method: Step 1
Using an iron is a much faster alternative to pressing flowers with a book. With this method, you need the same tools as the book method, minus the additional weight. Before pressing your flowers, place them inside of parchment and then in a book to flatten them and make them easier to iron.

The Iron Method: Step 2
Make sure to set your iron to a low setting with no steam. Remember, you’re drying the flower out — adding moisture will impede the process. If you have a steam iron, simply set the iron to its dry setting or empty the water before you begin. Move your pre-pressed flowers to an ironing board or flat surface.
The Iron Method: Step 3
Sandwich your flowers between parchment paper and place the iron on top of the parchment for about 10 seconds. Remove the iron and give the flower some time to cool, then repeat the process. It should only take a few rounds and a couple of minutes for the flower to dry. Remove the flowers from the ironing board and place them in a dry spot so any excess moisture can evaporate.
The Microwave Method: Step 1
If you’re in a hurry and looking for an even faster alternative than pressing flowers with an iron, the microwave method can give you beautifully dried flowers in seconds. You’ll need parchment paper, some sort of book or heavy object — such as a brick — and your flowers. You can use two bricks if you want, to create a sort of press, or you can just use a book that you’re OK with staining a little. Make sure the book doesn’t have foil insets, as this could damage your microwave.
The Microwave Method: Step 2
Place your flowers in between two pieces of parchment paper. Place your flower “sandwich” inside of your book or under your heavy object. Microwave your flowers for 15 to 30 seconds on a low temperature or power level that won’t fry your blooms to a crisp. Remove them gently and test to see if they’re properly dried. If not, try again at equal intervals until you have the desired effect. Don’t attempt intervals of microwaving without checking, since this might burn the flowers.
Purchasing a Flower Press
If you plan to press flowers quite often and you’d rather splurge a little bit, wooden flower presses can be purchased online or at craft stores. The device is secured with four screws on the corners of the wood. The top piece of wood is screwed to meet the bottom piece as it presses the flowers within. After a week or two, the press can be unscrewed, and the dried flowers can be removed. If you have some hardware skills, you can even make your own press.